
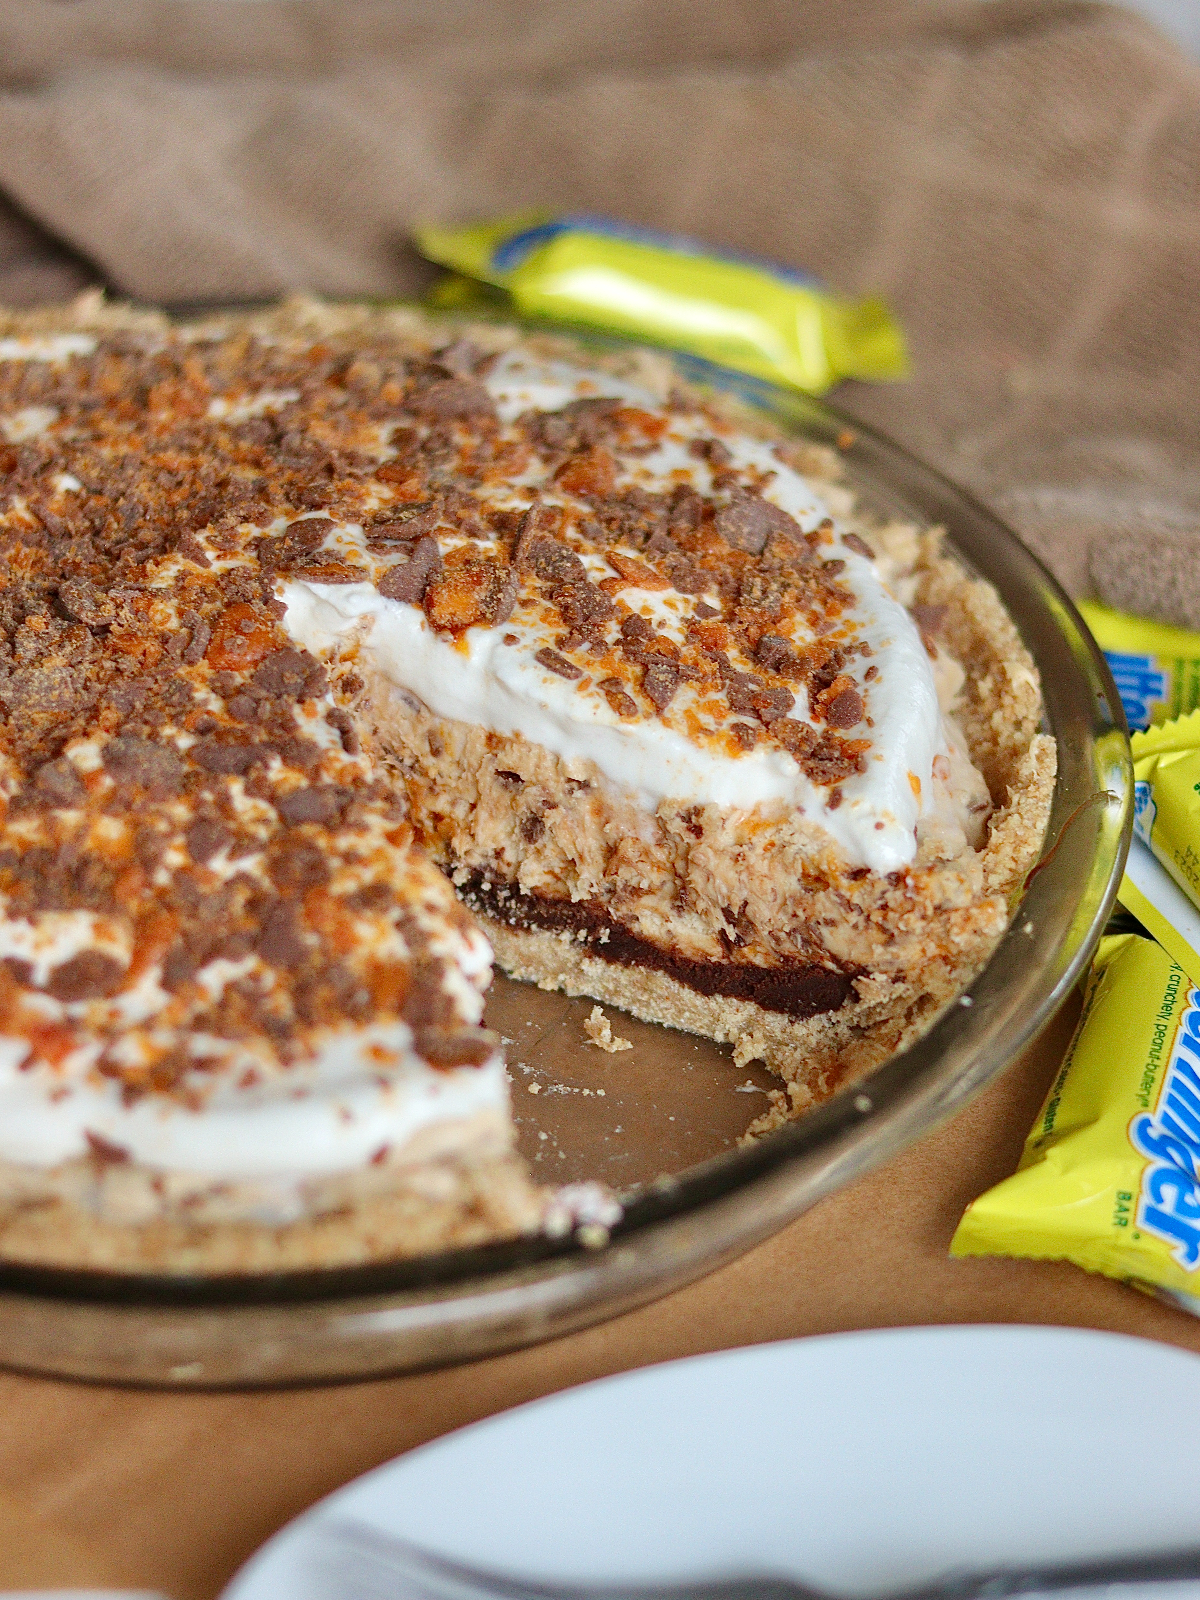
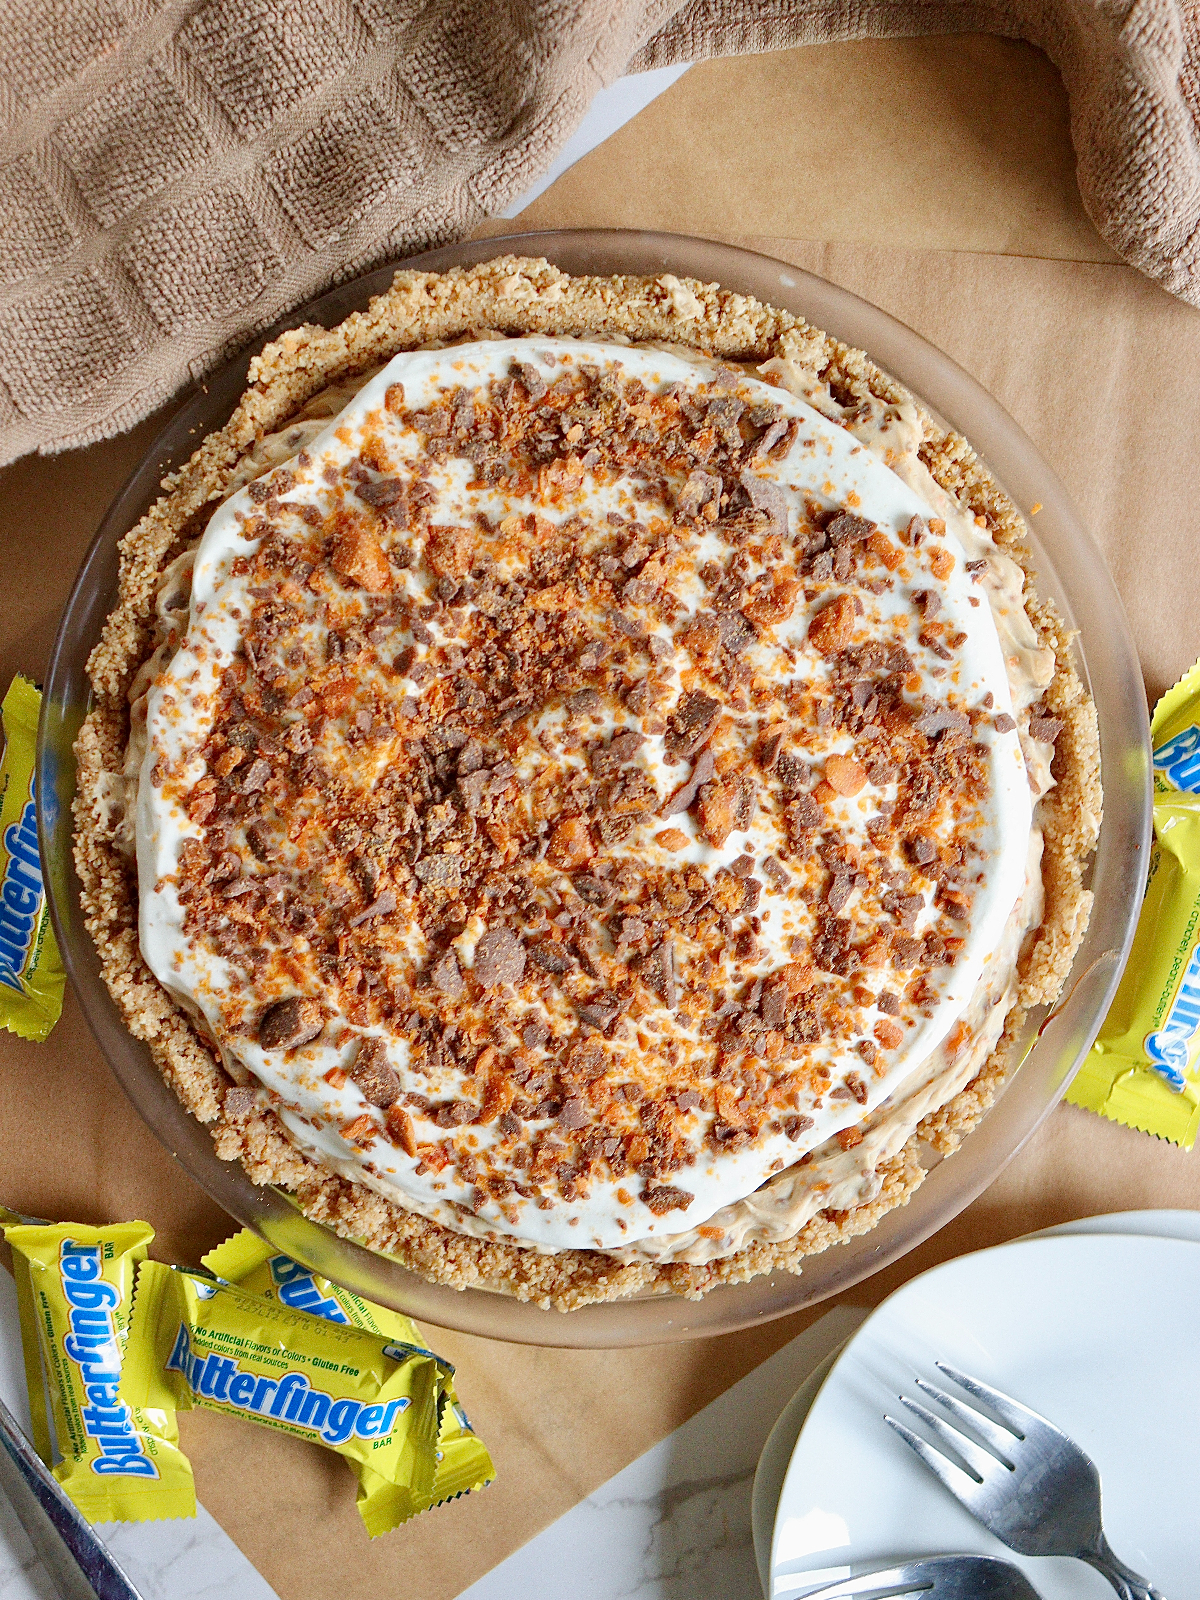
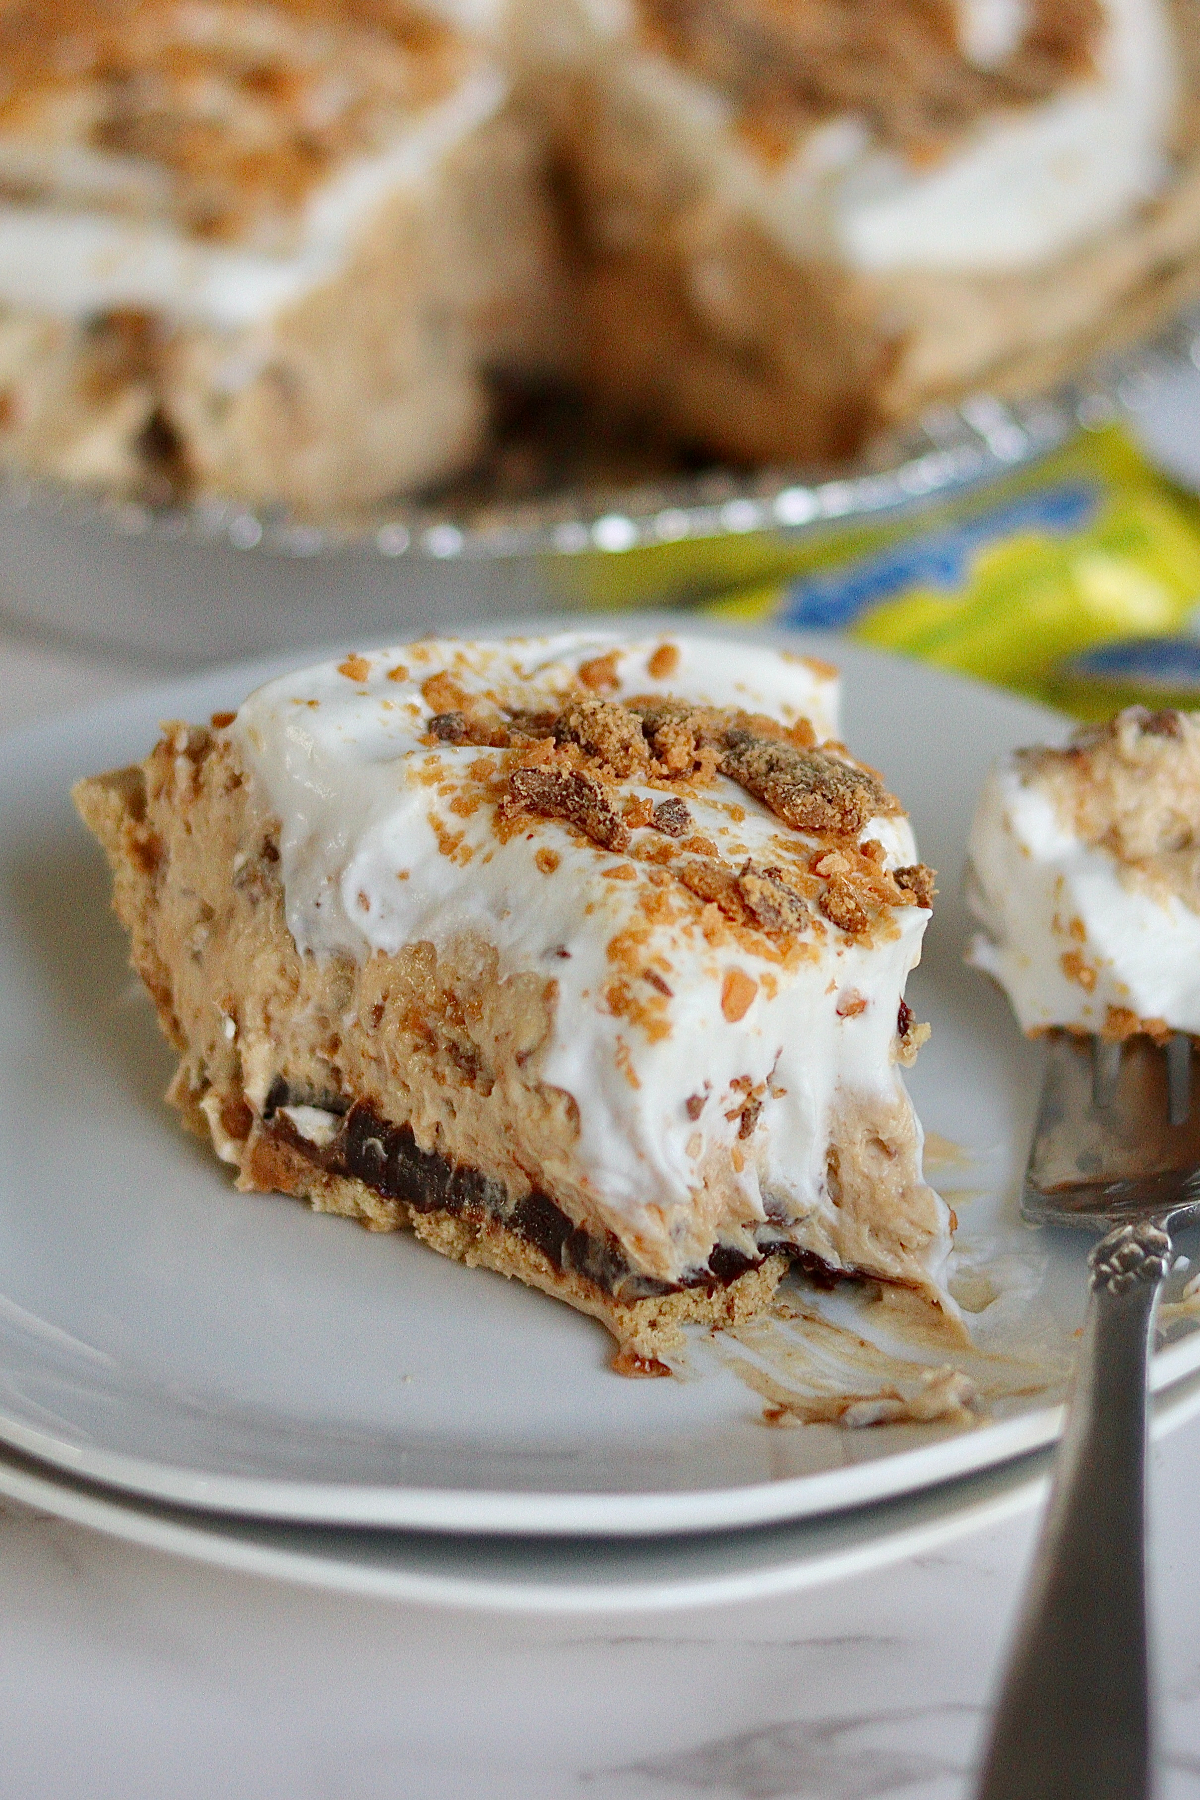
The no-bake Butterfinger Cream Pie has a graham cracker crust, chocolate base and a creamy peanut butter and Butterfinger cream filling, then it’s topped with whipped cream and more Butterfingers. It’s so rich and so simple!
I love making this easy Butterfinger pie for Thanksgiving or Christmas. It works great for the holidays since it is no bake, it frees up oven space! Even better you can make it ahead of time and freeze it until you are ready to serve.
Quick Tips
- To skip a recipe step, you can use a store bought graham cracker crust
- If making your own crust, pack the crust down tightly to prevent crumbling when serving.
- Weigh your peanut butter with a kitchen scale for the most accurate measurement and to avoid dirtying a measuring cup!
- Reserve a small amount of ganache filling for drizzling on the top, if desired. You could also use chocolate syrup or hot fudge instead.
- This pie is best served after being chilled in the fridge for at least an hour. You can also make this pie ahead of time and freeze it for up to 6 weeks.
Equipment
You will need some common baking equipment to make this cream pie.
- Food processor or rolling pin
- Measuring cups and spoons
- 9-inch pie pan
- Stand mixer or hand mixer
- Mixing bowl(s)
- Rubber or silicone spatula
Ingredient Notes and Substitutions
This Butterfinger cream pie requires a few simple ingredients, most of which you will probably already have in your pantry.
- Graham crackers – Used to make the graham cracker crust. You could also use other cookies here. Oreo’s work great like in my Hershey’s Chocolate Cream Pie. You can also just buy a pre-made graham cracker crust.
- Heavy whipping cream – Used to make the silky chocolate layer, and whipped cream for the top.
- Semi-sweet chocolate chips – You could substitute dark or milk chocolate here.
- Creamy peanut butter – You will want to use the creamy version here, not chunky. Also it is not recommended to use natural peanut butter. Brands like Jiff or Skippy work best.
- Cream cheese – I find full fat cream cheese works better for this recipe. Make sure to take out your cream cheese a few hours ahead of time so it can soften and come to room temperature.
- Fun-sized Butterfingers– This recipe will use a whole 10.2 ounce bag of fun-sized Butterfingers. You can also buy Butterfinger Baking Bits (you will use the whole bag) or full-sized candy bars if you can’t find the smaller ones. The pie calls for about 1 1/4 cup of crushed Butterfingers for the filling, then a few more to sprinkle on top.
How to make Butterfinger Cream Pie
This no bake pie recipe is easy to make and can be broken down into a few main steps:
- Make the graham cracker crust.
- Make the chocolate ganache layer.
- Make the cream filling.
- Make the whipped cream.
- Assemble the pie.
How to make the graham cracker crust
To make the graham cracker crust, you can use a food processor or rolling pin. To use a food processor, add in 9-10 graham cracker sheets to the food processor and pulse until you get fine crumbs. Alternatively, you can add the graham crackers to a gallon plastic bag and crush with a rolling pin.
Next, mix together crushed graham cracker crumbs, sugar, and melted butter until combined.
Firmly press the mixture down on the bottom and edges of a 9″ pie plate using your fingertips or the back of a measuring cup. You want to make sure the crust is firmly pressed, so it holds together better when serving.
Set the pie crust aside until after you’ve made the chocolate layer.
How to make the chocolate ganache layer
For the chocolate ganache topping, heat up 1/3 cup of heavy cream in a small saucepan on medium heat until almost boiling. You can also do this in the microwave. Heat for 30 seconds in the microwave, then in 10 second intervals until heated through.
Next, add 2/3 cup of chocolate chips to the hot cream and remove from heat. Stir constantly until all of the chocolate has melted and the mixture is smooth.
Pour the chocolate ganache over the bottom of the prepared graham cracker crust and smooth until even. Place the pie crust with chocolate ganache in the freezer for 20-30 minutes or until the chocolate has set (it will likely be set by the time you’ve prepared the rest of the filling).
How to make the cream filling
In the bowl of a stand mixer fitted with the paddle attachment or using a hand mixer, beat the softened cream cheese and peanut butter on low speed until smooth.
Place the unwrapped Butterfingers in a gallon bag and crush them using a rolling pin (or use a food processor to crush them). Set 1/4 cup of crushed Butterfingers aside for topping the pie later, then add the rest to the cream mixture and mix well.
How to make the whipped cream
In a separate bowl, whip together heavy cream, powdered sugar and vanilla extract on medium-high speed. Whip until stiff peaks form. Don’t over whip, or the milk will start to curdle.
Using a rubber spatula, fold half of the whipped cream into the Butterfinger cream mixture and gently mix. Mix until fully combined.
Reserve the rest of the whipped cream mixture for topping.
How to assemble the pie
Remove the pie plate from the freezer once the chocolate layer has set. Spread the Butterfinger cream filling mixture evenly over the chocolate layer.
Spread the remaining whipped cream over the top of the pie and garnish with the remaining crushed Butterfingers.
Drizzle the top with leftover chocolate ganache, melted peanut butter, chocolate sauce or caramel sauce, if desired.
How to store leftovers
You can store this pie in the refrigerator for up to a week, but I find it is best the next day.
You can also freeze this pie! To freeze, tightly cover the pie in plastic wrap, then wrap again in aluminum foil. Store in the freezer for 6-8 weeks, then allow it to thaw in the freezer for 3-4 hours prior to serving.
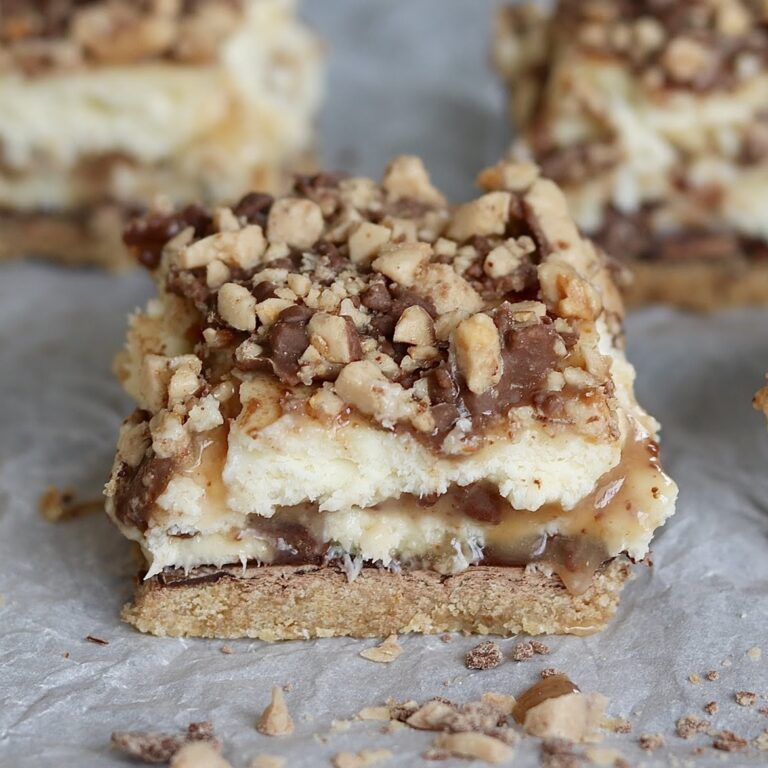
Try these other amazing pies!
Variations/Substitions
- If you don’t want to make your own graham cracker crust, use a store bought crust to save time.
- Try a chocolate cookie crust instead by using Oreos or peanut butter Oreos to make the crust instead of graham crackers for even more chocolate and peanut butter flavor.
- If you want to make this pie gluten free, use a gluten free pie crust or use gluten free graham crackers.
- You can substitute Cool Whip instead of making your own whipped cream to save time. Use a full 8 ounce container for the filling, then top it with more cool whip or reddi-whip
- Make mini Butterfinger cream pies by using muffin tins or small pie tins to form the crust instead of a pie pan.
Butterfinger Cream Pie
Equipment
- 1 Hand mixer or stand mixer
- 1-2 medium mixing bowls
- silicone spatula
- Rolling Pin (if not using Butterfinger Bits)
- 9 inch pie pan
Ingredients
For the graham cracker crust (you can also use a store bought graham cracker crust)
- 1 cup graham cracker crumbs 9-10 sheets, finely crushed
- 6 tablespoons butter melted
- ¼ cup granulated sugar
For the chocolate layer
- ⅓ cup heavy whipping cream
- ⅔ cup semi-sweet chocolate chips
For the cream filling
- 8 ounces cream cheese softened
- ½ cup creamy peanut butter
- 1 10.2 oz bag Butterfingers (crushed) 1-1½ cups, reserve some for topping
For the whipped topping (add ½ to cream filling & reserve half for topping the pie)
- 1¾ cup heavy cream
- ¾ cup powdered sugar
- 1 teaspoon vanilla extract
Instructions
To make the graham cracker crust
- Finely crush 9-10 graham cracker sheets using a food processor or rolling pin.
- Stir together crushed graham crackers, sugar and melted butter.
- Press the mixture down on the bottom and edges of a 9" pie plate using your fingertips or the back of a measuring cup.
- Set aside.
To make the chocolate layer
- Heat ⅓ cup of heavy cream in a small saucepan on low or heat in the microwave. Heat until almost boiling.
- Add ⅔ cup of chocolate chips to the hot cream and remove from heat. Stir constantly until all of the chocolate has melted and the mixture is smooth.
- Pour the chocolate over the bottom of the crust and smooth until even. Place in the freezer for 15-20 minutes or until the chocolate is set. Begin making the Butterfinger cream filling while it sets.
To make the cream filling
- Using a stand mixer fitted with the paddle attachment or a hand mixer, cream the cream cheese and peanut butter until smooth.
- Place the unwrapped Butterfingers in a gallon bag and crush them using a rolling pin. Add them to the cream mixture and mix well.
To make the whipped topping (add ½ to cream filling & reserve half for topping the pie)
- In a separate bowl, whip together heavy cream, powdered sugar and vanilla extract. Whip until stiff peaks form.
- Using a rubber spatula, fold half of the whipped cream into the cream mixture. Mix lightly until full combined. Reserve the rest of the whipped cream for the topping.
How to assemble the pie
- Remove the pie plate from the freezer once the chocolate layer has set.
- Evenly spread the Butterfinger cream filling mixture evenly over the chocolate layer.
- Spread the remaining whipped cream over the top of the pie and garnish with the remaining crushed Butterfingers.
- Allow to set in the fridge for at least an hour before enjoying. Serve chilled. Store in the fridge for up to 1 week, or freeze for 6-8 weeks.


Do you freeze with the whipped topping already on?
Yes, you can freeze it with the whipped topping on already!
Can you use a spring form pan for this?
Yes, as long as you let the pie set overnight before trying to remove it from the pan, that should be fine