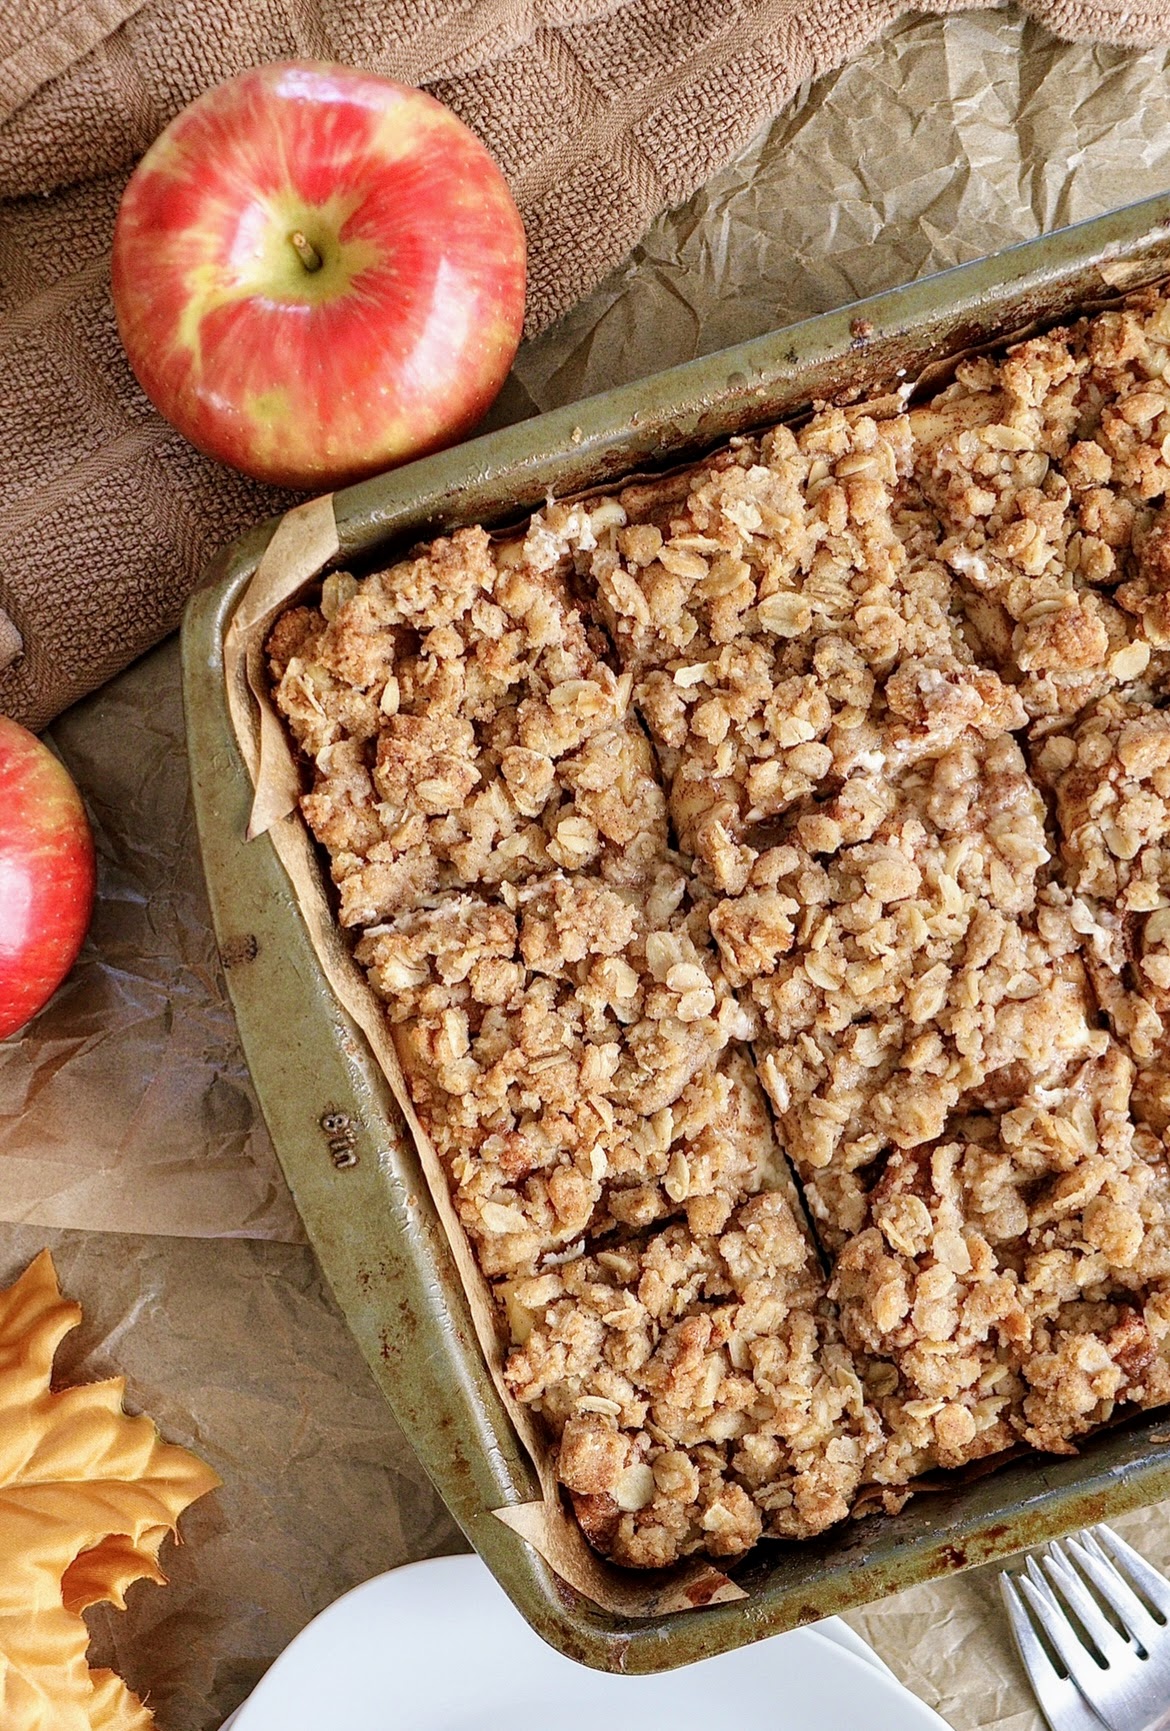
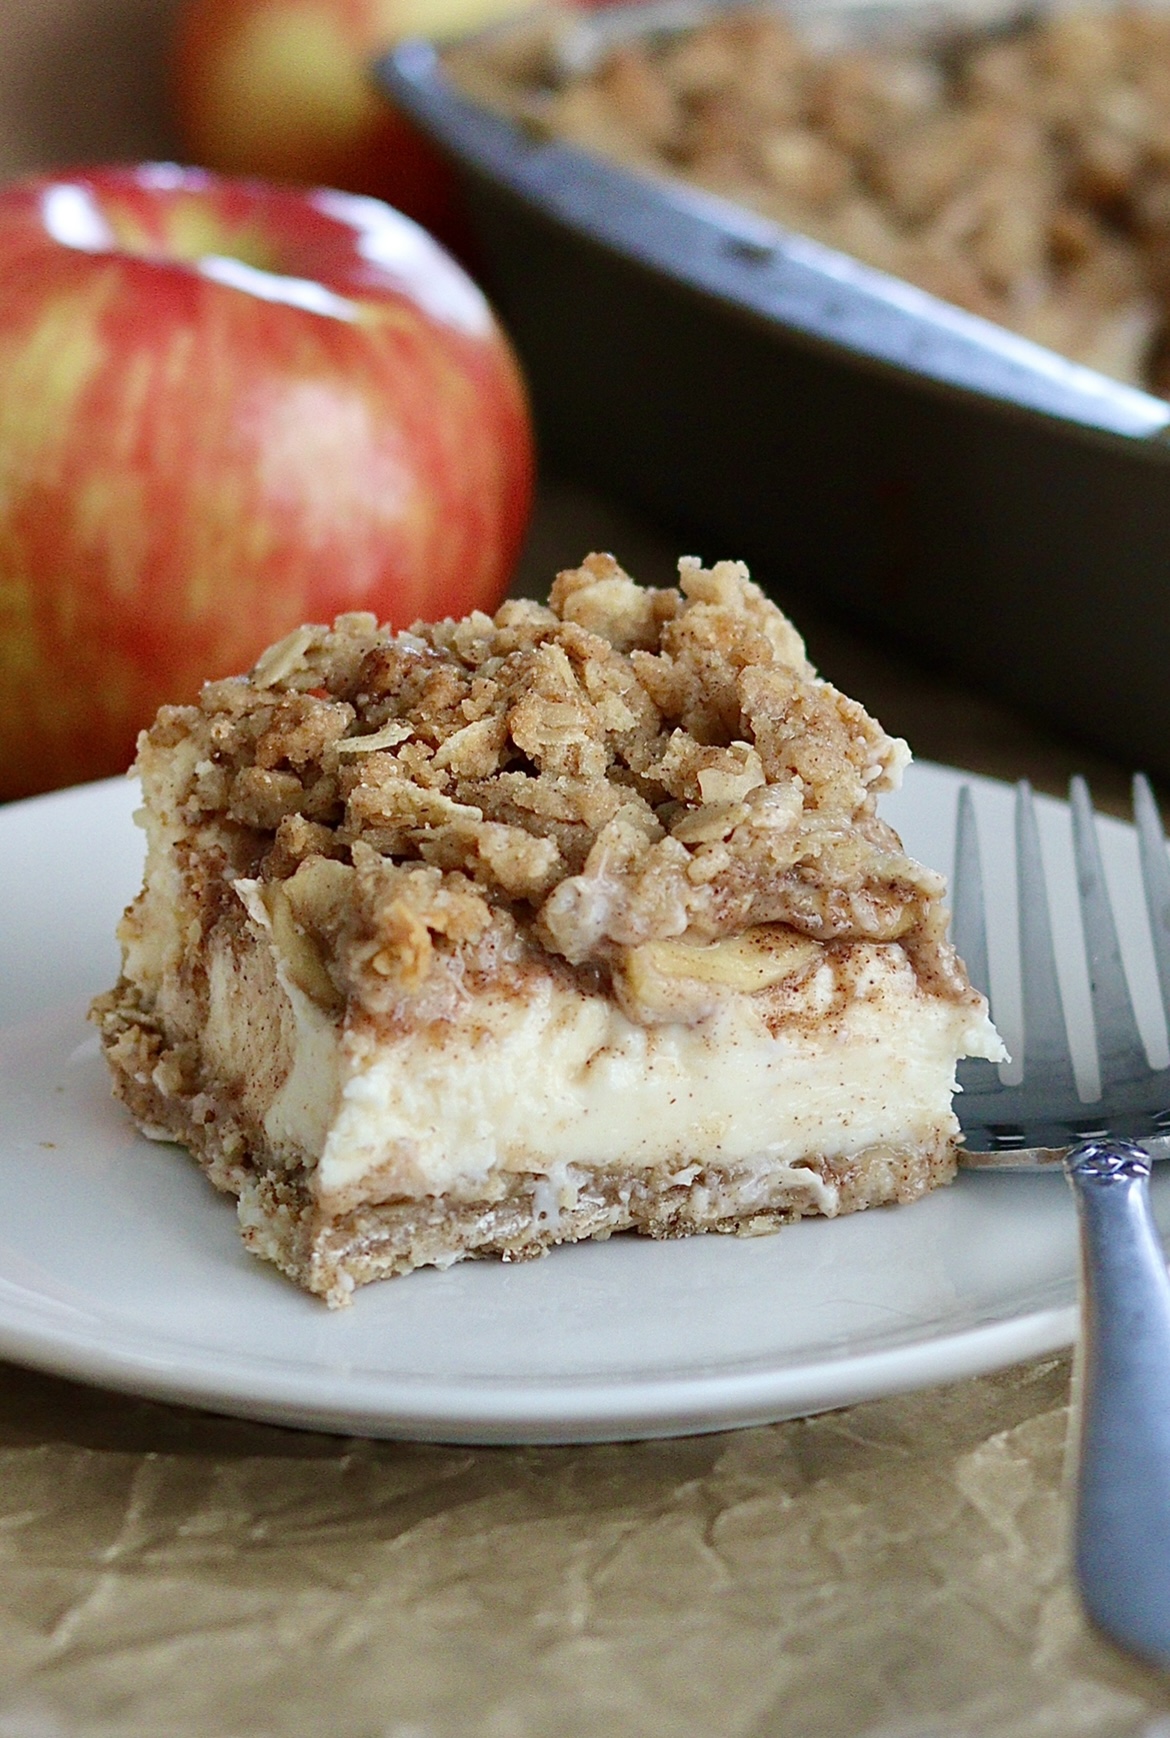
These Apple Crisp Cheesecake Bars have layers of creamy vanilla cheesecake and fresh apple pie filling. They also have a brown sugar oat crust and a brown sugar oat topping!
These bars are the perfect fall treat. The crisp topping is made from the same mixture as the crust, so they are extra easy to make. Grab some of your favorite apples and bake these up today!
Quick Tips
- Line your 8×8 pan with parchment paper for easy removal
- Buy an Apple Corer Peeler to peel and slice your apples in half the time!
- Thinly slice and quarter your apples for an ideal texture and bite
Equipment
- Apple peeler or Apple Corer Slicer
- 8×8 baking pan
- Stand mixer or hand mixer
- Medium-large mixing bowls
- Silicone spatulas
Ingredient Notes
- Old fashioned oats – quick oats can also be substituted
- Brown sugar – light or brown sugar can be used for this recipe
- Cream cheese – it will need to be set out at room temperature for at least an hour in order to allow it to soften. You can also heat for 10-15 second increments in the microwave
- Apples – sweet, hard apples work best for baking (Gala, Honey Crisp, Pink Lady)
Try some of these other cheesecake bars!
- Pumpkin Pie Cheesecake Bars
- Toffee Cheesecake Bars
- Brownie Bottom Dulce de Leche Cheesecake Bars
- Gingerbread Cheesecake Bars with a Cranberry Swirl
How to make Apple Crisp Cheesecake Bars
This Apple Crisp Cheesecake Bars are fairly easy to make and can be broken down into a few steps.
- Make the crust and topping
- Make the cheesecake layer
- Make the apple layer
- Assemble the cheesecake bars
- Bake the cheesecake bars
How to make the crust and topping
Preheat the oven to 350 degrees and prepare 8×8 baking pan by greasing well or lining with parchment paper.
Add melted butter, oats, cinnamon, salt, flour, brown sugar to a medium bowl and mix until well combined. The mixture should be crumbly.
How to make the cheesecake layer
In a stand mixer fitted with the paddle attachment or a hand mixer, beat the softened cream cheese in a separate bowl until smooth. Scrape down the bowl once complete.
Add sugar, vanilla extract and flour. Beat on medium-high until smooth. Next, add your egg (mixes best when it’s at room temperature). Mix on low-medium until the egg is incorporated into the batter. Do not over-mix. Scrape down the bowl once complete.
How to make the apple layer
Next, peel, slice and chop 2-3 apples (totaling 3 cups) and place them in a medium bowl.
Add cinnamon, brown sugar, granulated sugar and flour. Fold the mixture until the apples are fully coated.
How to assemble the cheesecake
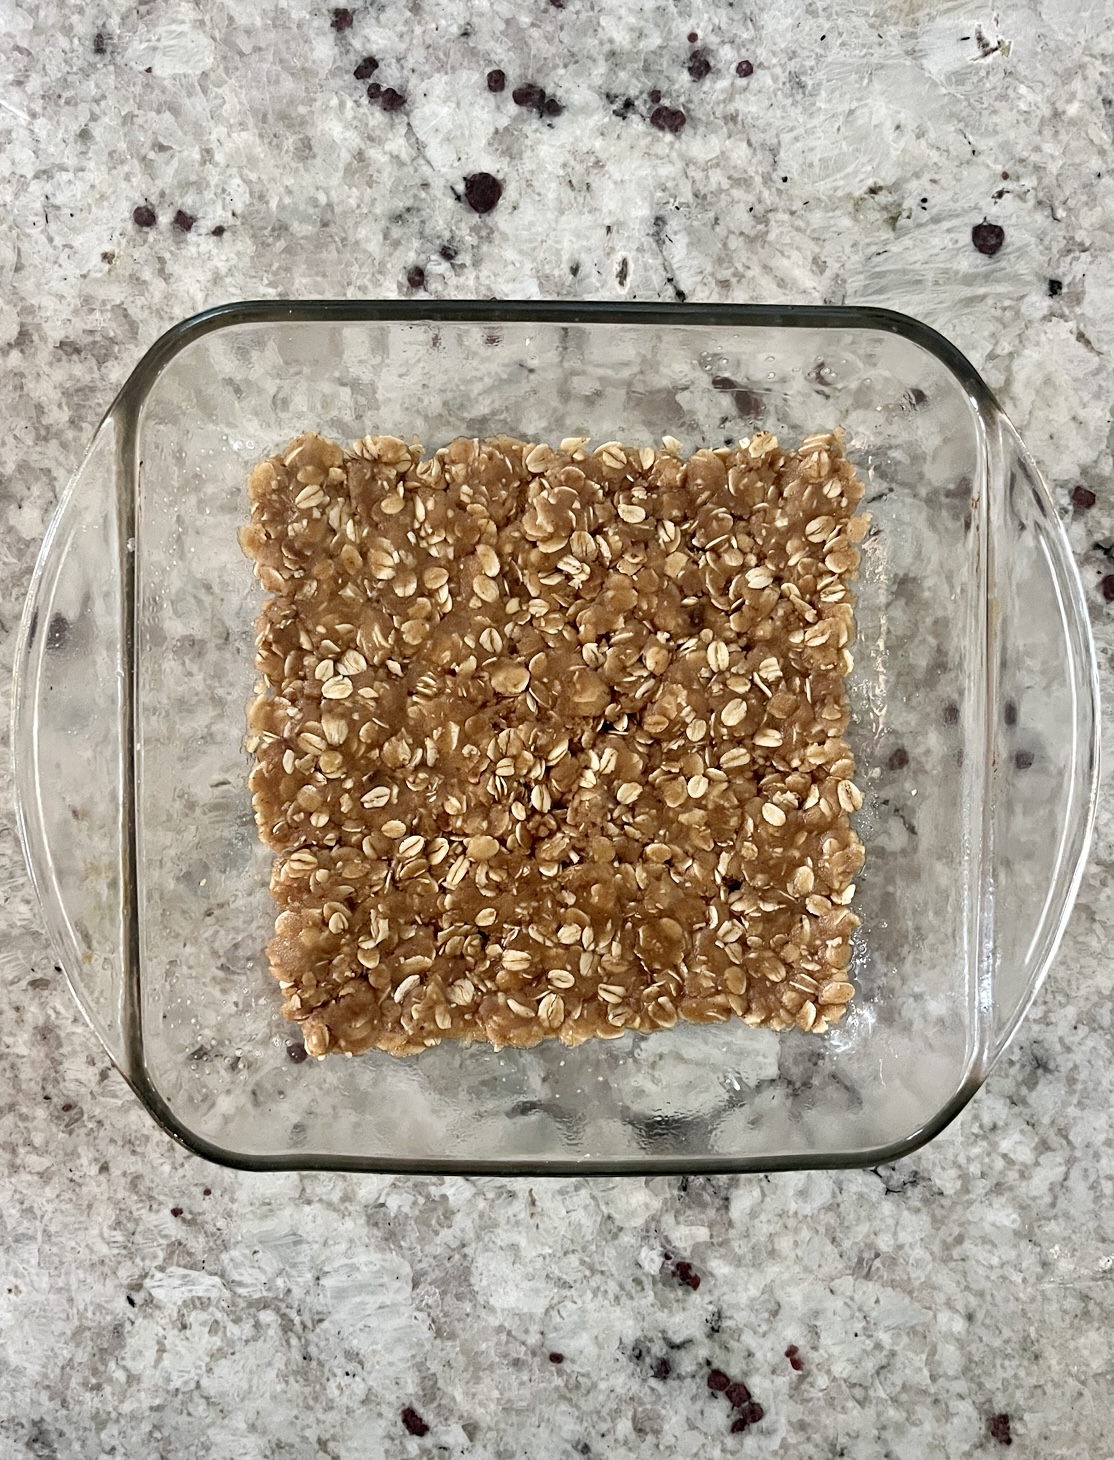
Sprinkle half of the oat mixture throughout your prepared 8×8 pan. Firmly press the mixture down until it completely covers the bottom of the pan (as shown below). Reserve the other half of the mixture for the final topping.
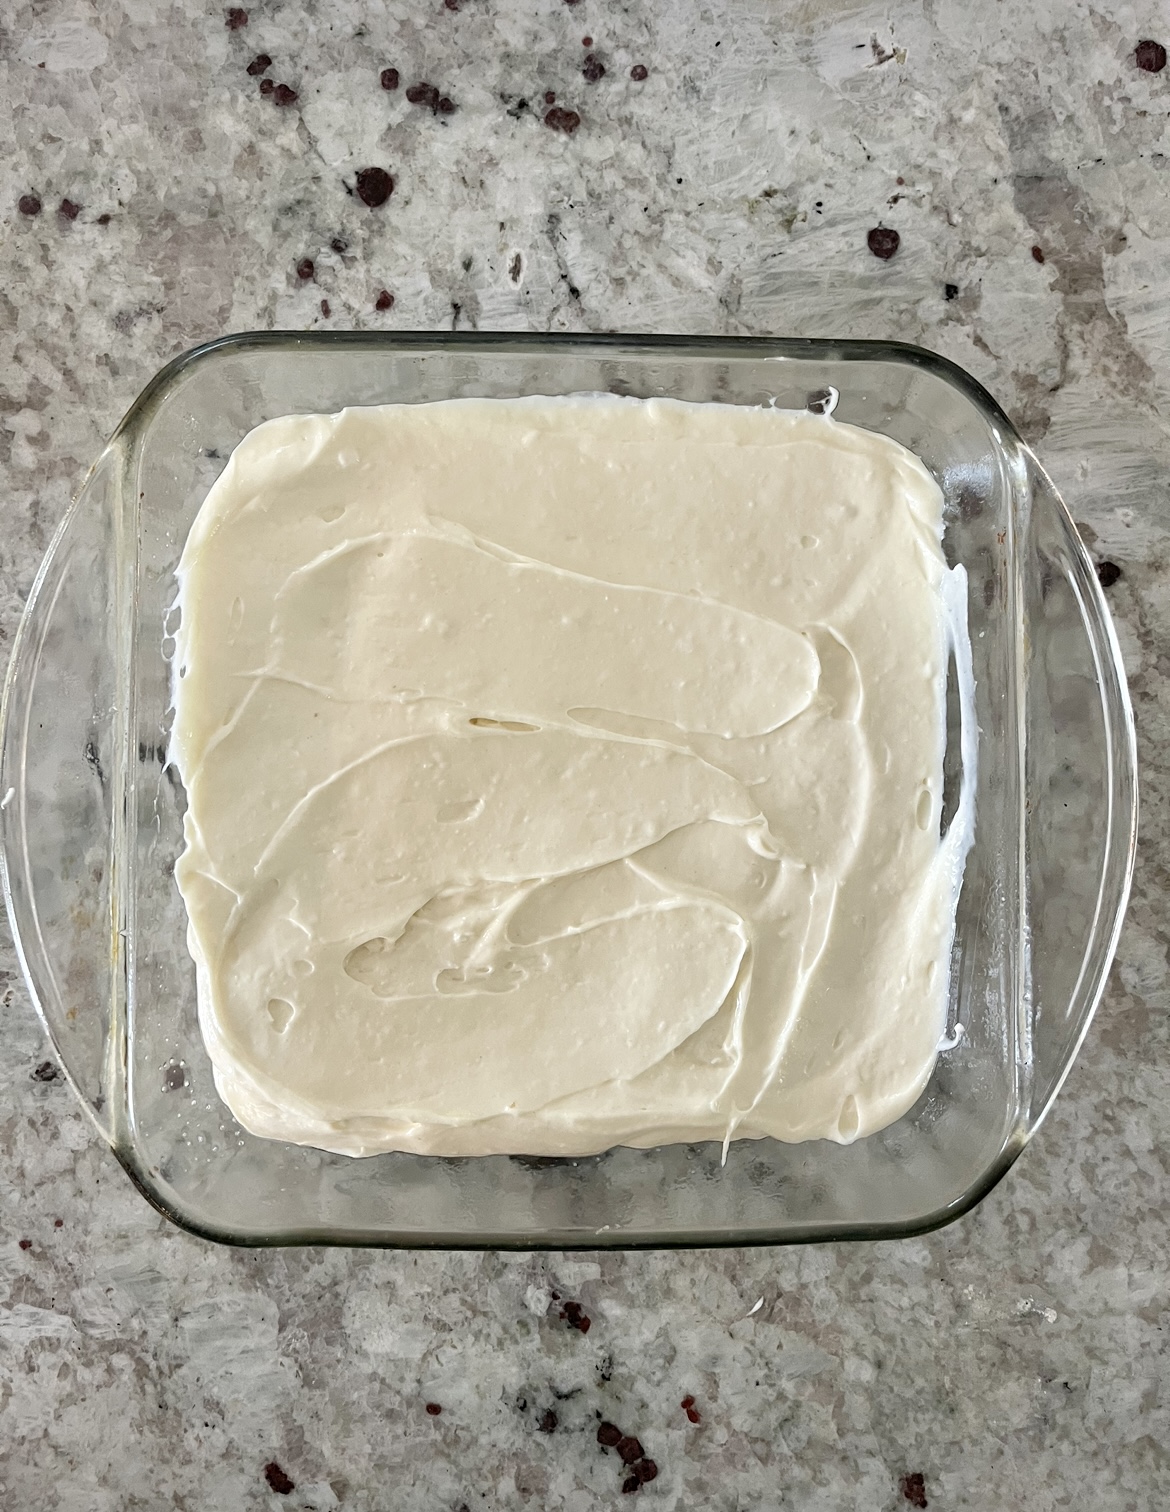
Pour the cheesecake batter over the crust. Use a spatula to gently smooth it out (as pictured).
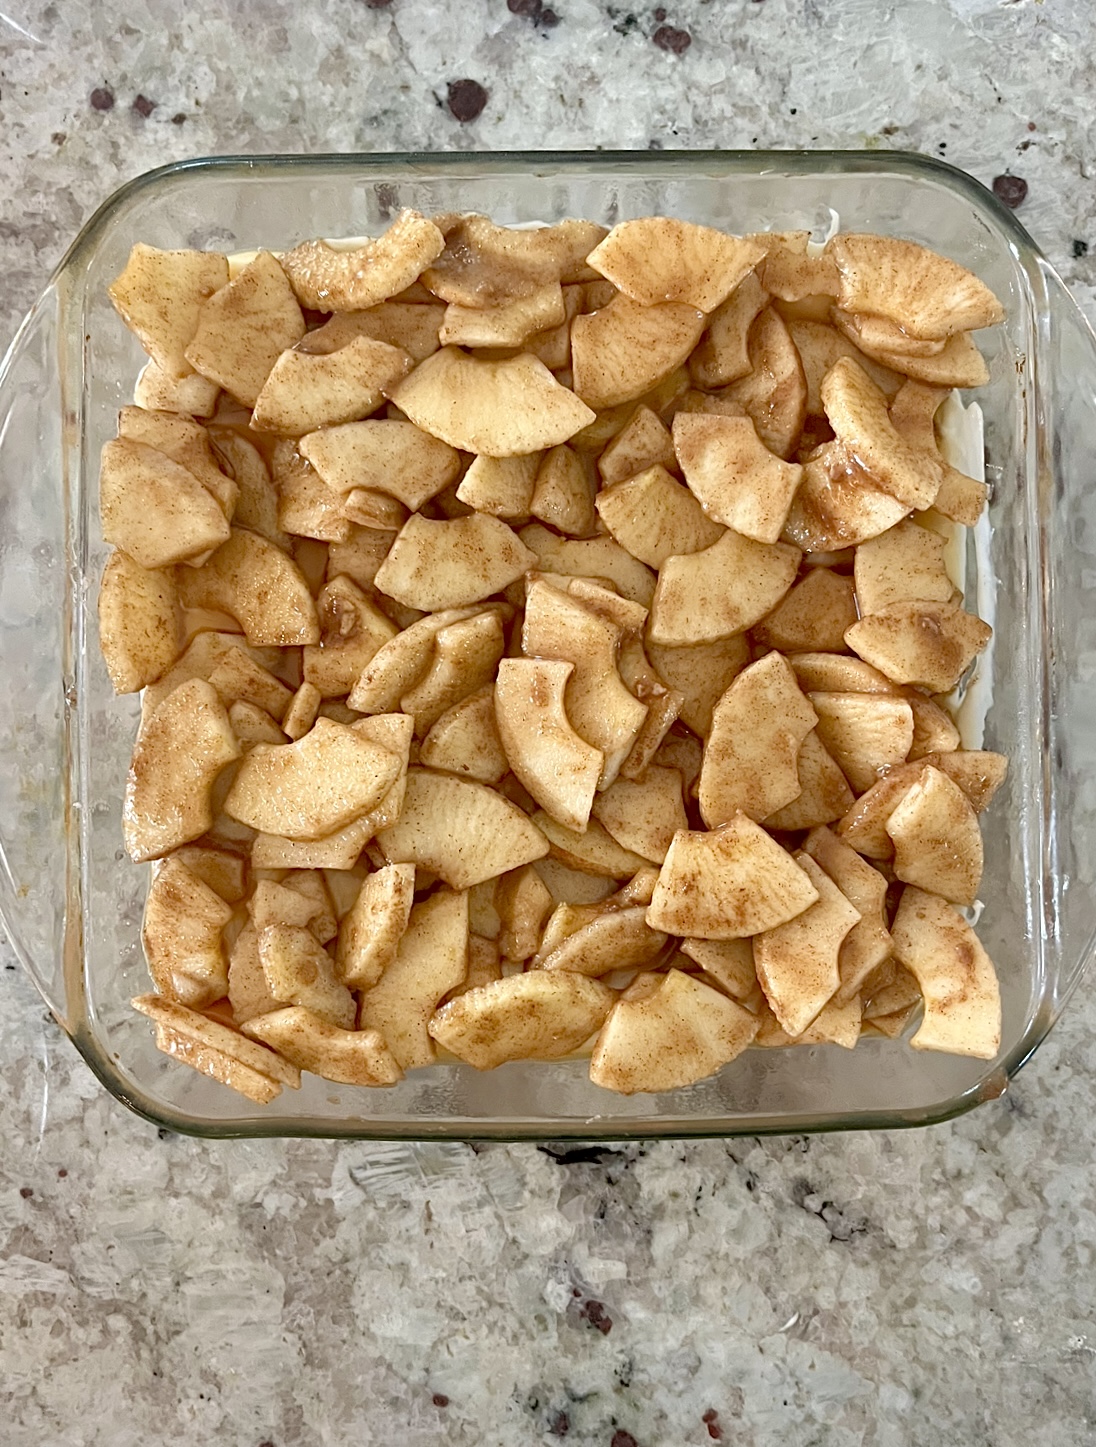
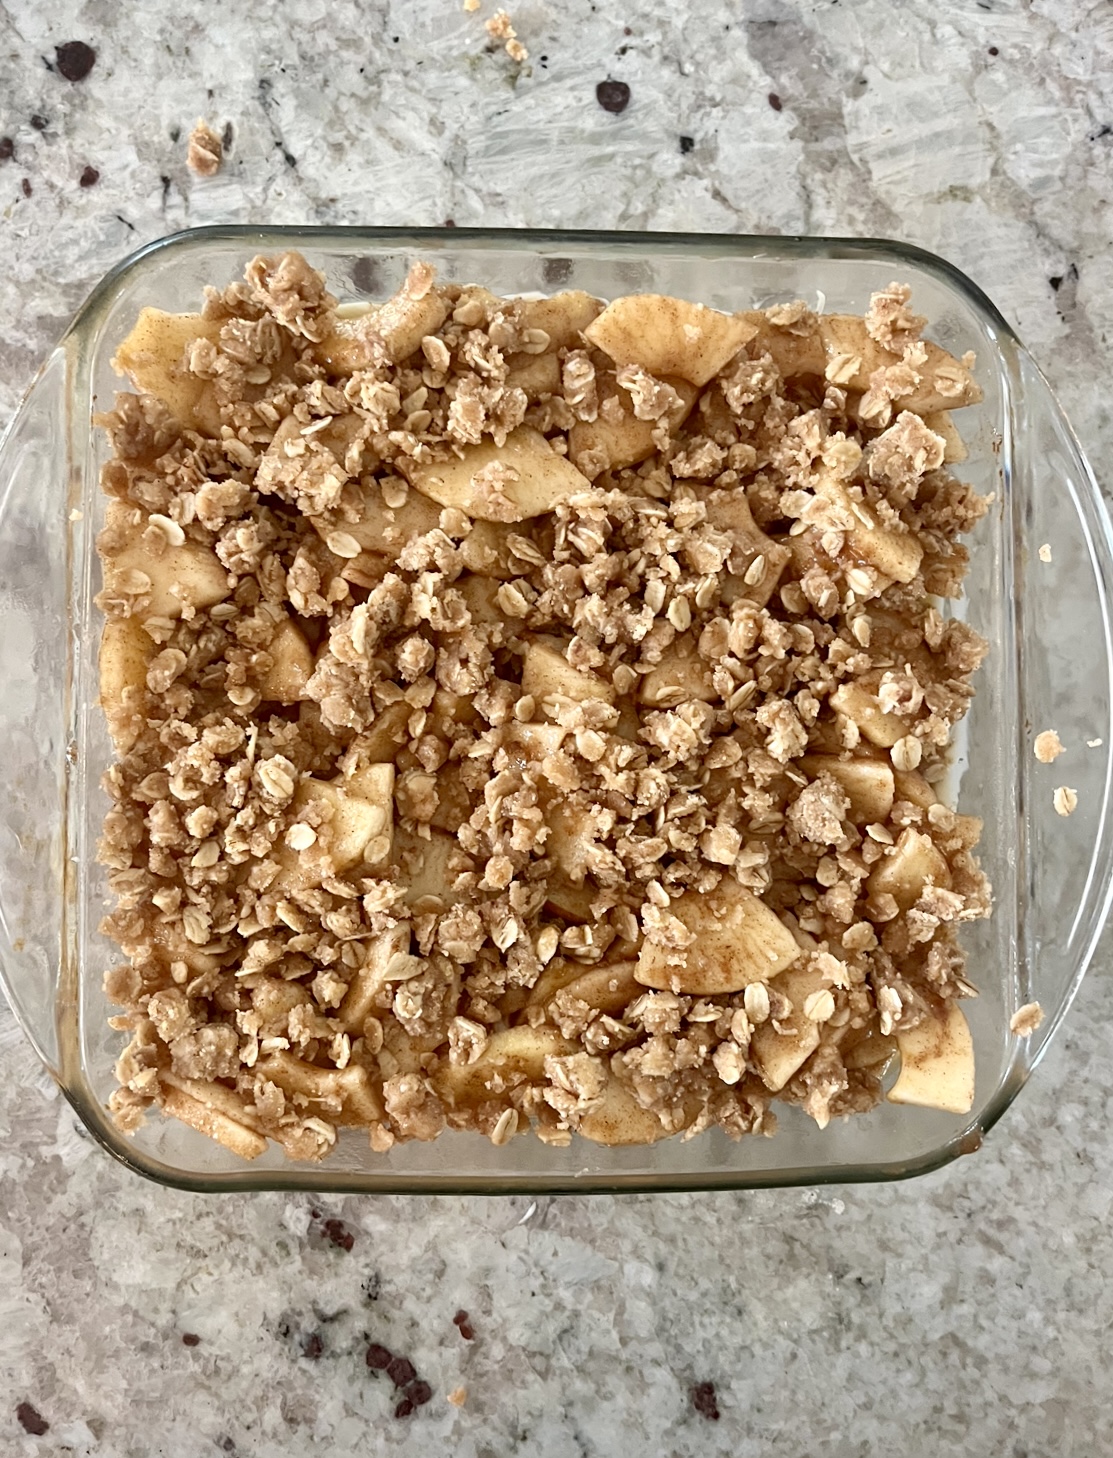
Evenly sprinkle the apples over the cheesecake layer (as pictured). Then, lastly, evenly sprinkle the remaining crisp topping over the top of the apples as shown below.
Bake the bars at 350 degrees for 40-50 minutes or until the apples are bubbling and the center of the cheesecake is not as jiggly.
Remove it from the oven and allow it to cool to room temperature, then chill it in the fridge overnight before enjoying.
Looking for more yummy fall recipes?
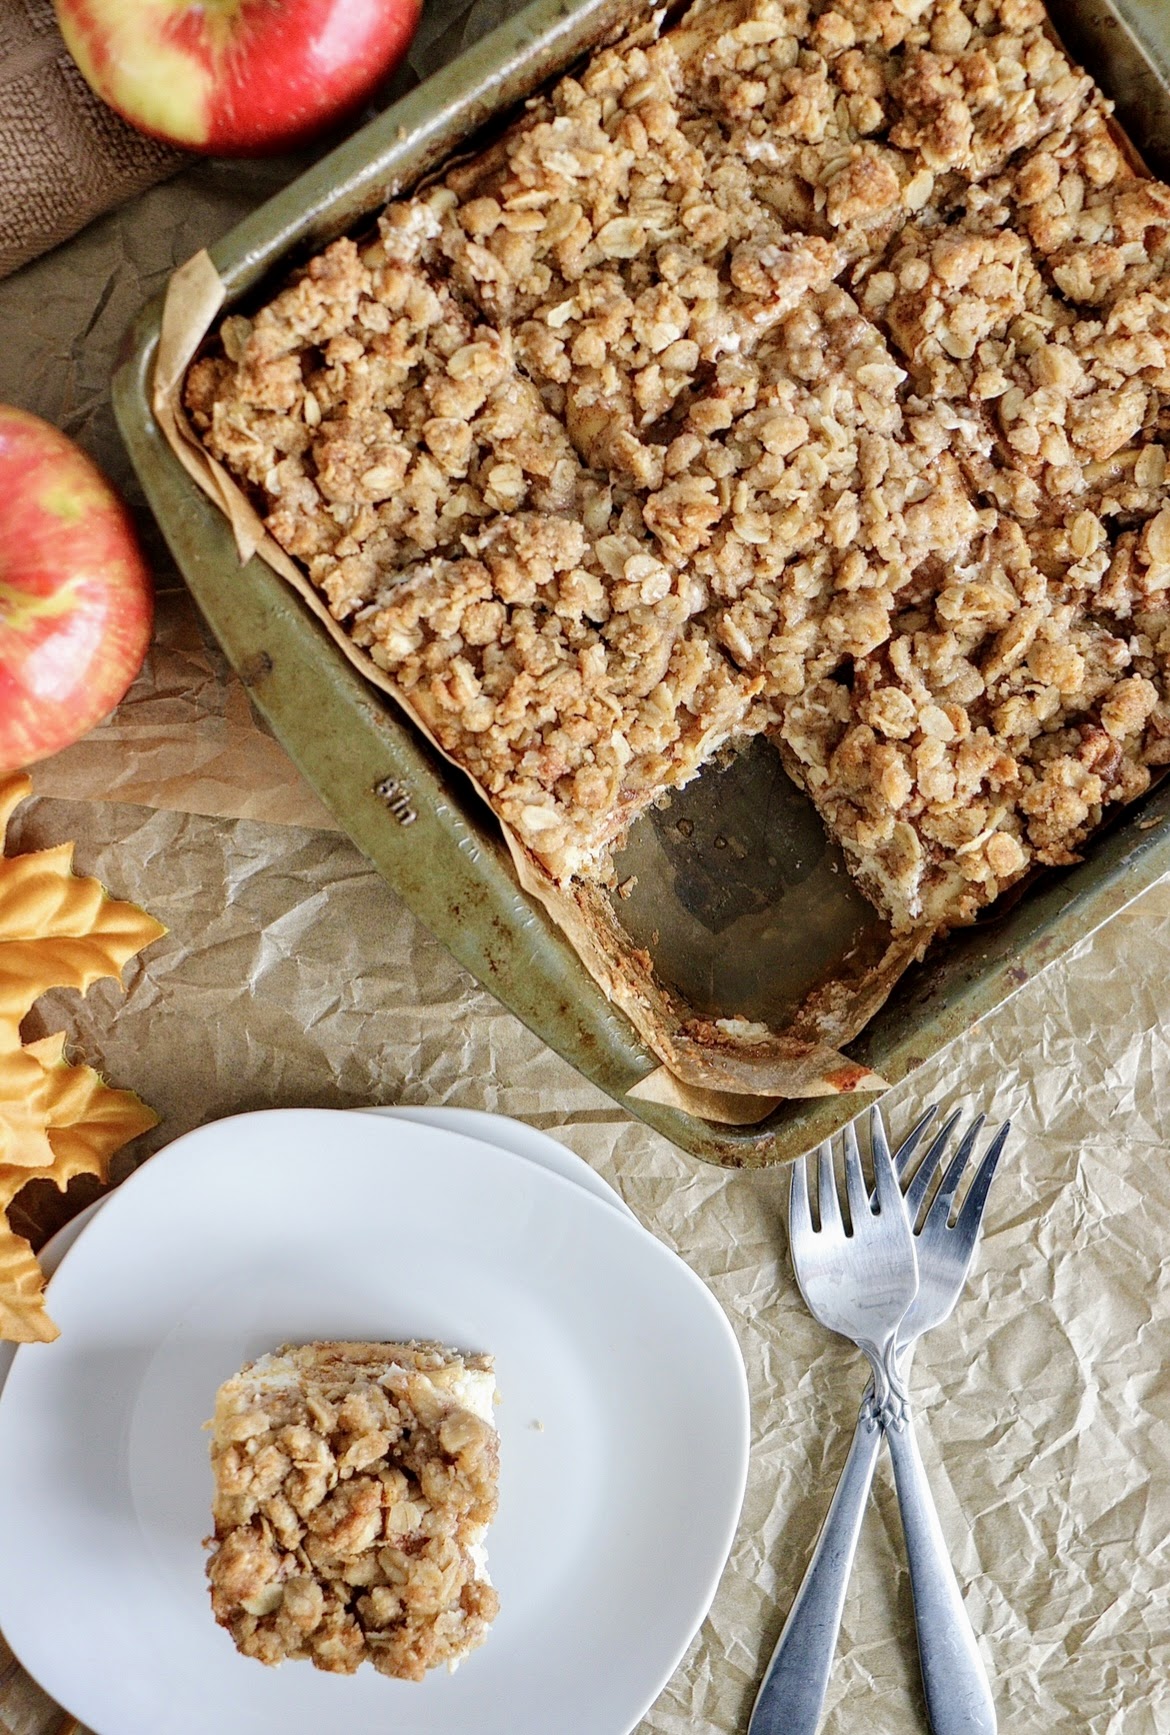

Apple Crisp Cheesecake Bars
Equipment
- 1 handheld or stand mixer
- 1 apple peeler (or apple peeler corer)
- 3 medium-large mixing bowls
- 2 silicone spatulas
Ingredients
For the oat crust and oat topping (divided)
- ½ cup butter melted
- ¾ cup all-purpose flour
- ¾ cup brown sugar (light or dark) packed
- ½ teaspoon salt
- 1 teaspoon ground cinnamon
- 1 cup old fashioned oats quick oats are OK too
For the cheesecake layer
- 16 ounces cream cheese softened
- ½ cup granulated sugar
- 1 egg
- ½ teaspoon vanilla extract
- 1 tablespoon all-purpose flour
For the apple filling
- 3 cups chopped apples 2-3 apples, peeled, sliced and chopped
- 2 tablespoons brown sugar (light or dark)
- 2 tablespoons granulated sugar
- 2 tablespoons all-purpose flour
- 1 teaspoon ground cinnamon
Instructions
To make the crust and the topping
- Preheat the oven to 350 degrees.
- Prepare 8×8 baking pan by greasing well or lining with parchment paper.
- Add melted butter, oats, cinnamon, salt, flour, brown sugar to a medium bowl and mix until well combined. Mixture should be crumbly.
- Spread HALF of the mixture throughout the prepared pan and press it firmly, ensuring that the whole bottom of the pan is covered (as pictured). Set the other half of the mixture side, as it will be used as the crisp topping.
To make the cheesecake layer
- In a stand mixer fitted with the paddle attachment or a hand mixer, beat the softened cream cheese in a separate bowl until smooth. Scrape down the bowl once complete.
- Add sugar, vanilla extract and flour. Beat on medium-high until smooth. Scrape down the bowl once complete.
- Add in egg and beat on low-medium until just combined. Do not over beat.
- Pour the cheesecake batter over the crust. Use a spatula to gently smooth it out (as pictured).
- Set aside.
To make the apple filling
- Peel, slice and chop 2-3 apples (totaling 3 cups). Place them in a medium bowl.
- Add cinnamon, brown sugar, granulated sugar and flour. Fold the mixture until the apples are fully coated.
- Evenly sprinkle the apples over the cheesecake layer (as pictured).
- Evenly sprinkle the remaining crisp topping over the top of the apples (as pictured).
- Bake for 40-50 minutes or until the apples are bubbling and the center isn't as jiggly.
- Remove from the oven and allow it to cool to room temperature, then place in the fridge for at least 4 hours (or overnight) before enjoying.






This looks great! Can you freeze it?
Yes you can! Just make sure that they are covered well to avoid drying out, but they freeze great!
hi,there is an egg missing in the ingredients list.hope it needs to be just one egg,I am baking it now.
1 egg is needed for the cheesecake layer – it is listed in the recipe 🙂
Do you think I could sub can Apple pie filling to make this quicker? And what could I add to it to be better?
I have never tried it with apple pie filling. I think it would work but I can’t guarantee it 🙂 You might want to drain the apples so that there isn’t too much liquid in it. And maybe add a dash of cinnamon. Let me know how it goes!
Absolutely amazing!!
What kind of apples are best
I prefer honeycrisp, but gala apples work well too! Essentially any red apple that’s not red delicious will be fine 🙂
It says salt for the cream cheese layer in two different direction areas- but not in the recipe. Is there salt in the cream cheese layer?
thanks for catching that! there is no salt in the cream cheese layer.
How would you convert this to a 9×13?
Just double everything for a 9×13!
Could you sub blueberries instead of apples?
Great question, I have never tried other fruit but you could! Baking it should be the same. Just toss the blueberries in sugar/cornstarch/cinnamon or whatever you prefer for a blueberry pie filling, then keep the other directions the same
Do you think this recipe would work with a gluten-free flour? I’m wondering if the consistency would change too much.
I would like that a 1:1 Gf flour would work! I’ve never tried it but I wouldn’t think it would impact the consistency too much 🙂
Can I double this recipe and make it in a 9×13 pan?
Yes you can!
For a 9×13 pan would I double everything
Yes, just double the recipe for a 9×13
These sweet treats are absolutely AMAZING❣️The directions are easy to follow & perfect to make the day ahead. The wonderful aroma of baked apples & cinnamon is an added delight! Thank you Jackie!!
So glad that you enjoyed them Wendy! Happy Thanksgiving!
How long will these last in the fridge? Or alternatively can I prep everything two or three days in advance, keep it refrigerated then bake it the morning of?
They will last in the fridge for 7-10 days. They also freeze very well. I recommend baking it right away and just storing in the fridge or freezing.
I’ve made these several times and they are so good! Always a hit with a crowd. And so easy to make, too!
I’m so glad you have liked them!
Amazing recipie!!! I made one and a half portions to make it more of a cake. Was such a hit!! Will def be making this again 🙂
Thank you so much for your comment! I am so glad that you enjoyed them 🙂
Made this and followed instructions to a T, and FYI I live in Colorado and my elevation is 5000+. I mention this because baking anything can be complicated but this was recipe was easy and tasty! thank you
I’m so glad that you liked them! It’s also wonderful to hear that this recipe works for high altitudes. Thank you for making my recipe!
My husband and I loved these! The only problem is I had a really hard time knowing if the cheesecake was done. There was no bubbling of the apples in the center. And It was still so jiggly after 50 minutes so I baked 5 more minutes. Checked it. Still jiggly. I kept adding more and more time until it was finally set. By then the bottom burned, but i just cut it off, flipped the bars upside down. The top became the bottom. I used a glass 8 x 8 dish with parchment paper and followed the recipe. Might be my oven! Besides all of that, they are delicious.
This dessert is AMAZING!